My living situation is a very noisy one. I got 2 boys, 4yo and 10yo, and being six years apart these boys produce a different kind of noise level. I also live in a triplex so I try to keep the noise down. With everything going on it gets kind of hard to hear my bedroom tv sometimes. Turning the volume up doesn’t help because it seem like the tv sound gets drown out by the boys noise. So I’ve decided to do something about it.
I was at goodwill and I came a cross a Vizio sound bar for 12 dollars. I did use it for a few months until it started making this high pitched sound. I never throw out tech and since it’s been collecting dust and I need it to solve this specific problem, I got to work.
So, I’m going to build a simple bedside speaker for both sides. You know, kinda like a hospital bed, but like way better, I think.
Bill Of Materials:
Craft Wood
Soundbar
Speaker wire
Felt
Adhesive Spray
Wood Filler
Sand Paper (150 grit)
3D Printer

I am a horrible wood worker. I only measure once, and you’ll see that in action. I bought some craft wood from hobby lobby and started measuring out the speaker box. The speakers I have are around 4 inches so I didn’t need that big of a piece.
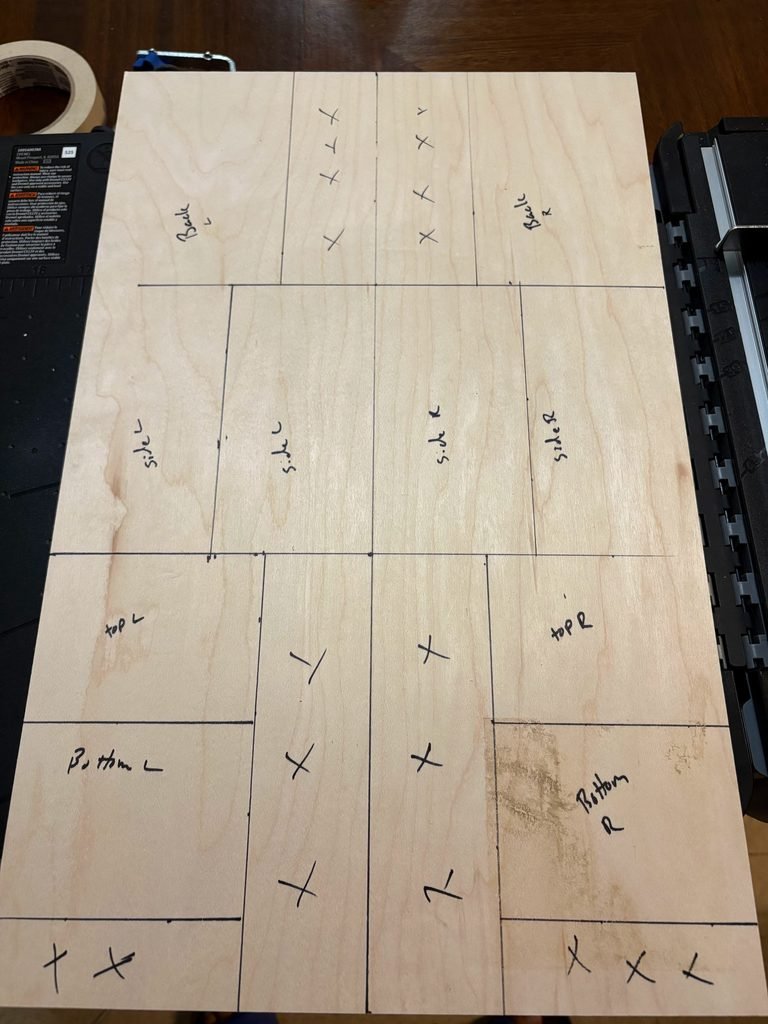
These are actually measured almost exactly the size I needed. I needed space for the speaker and a spot in the front for a port.
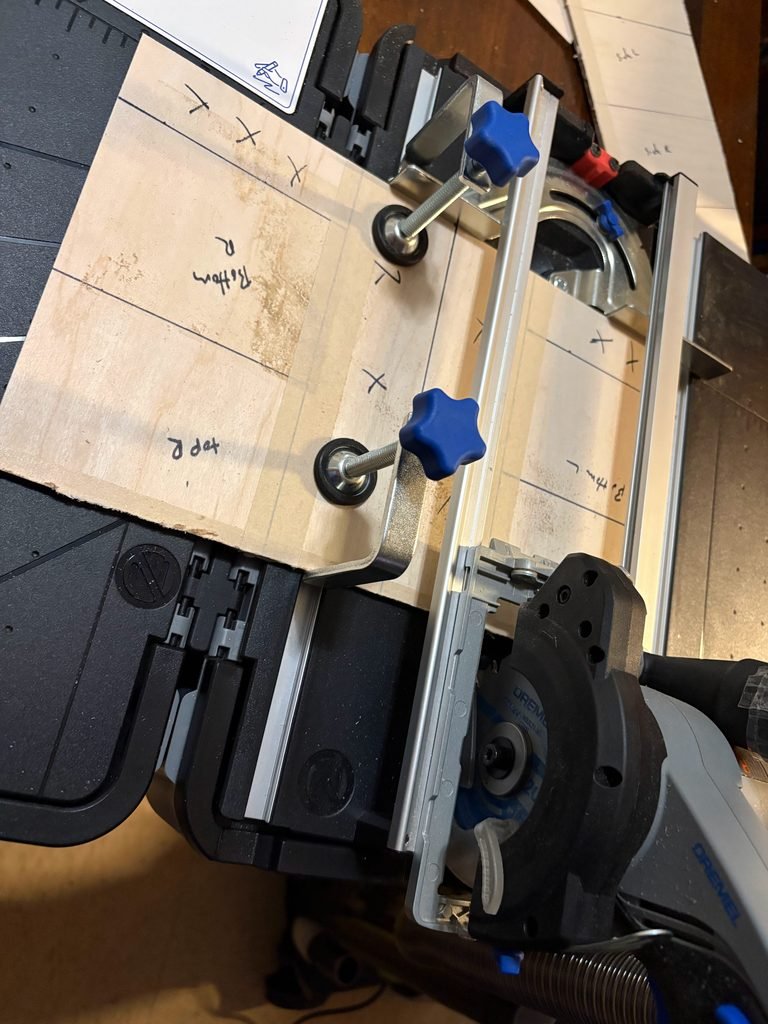
I got this Dremel blueprint this past January for my birthday. It has been a great addition especially for all these small craft projects.
But it’s not perfect. The board that I needed to cut was too large and I had to freehand cut the board in half without the use of rails. You’ll see how that comes out later.
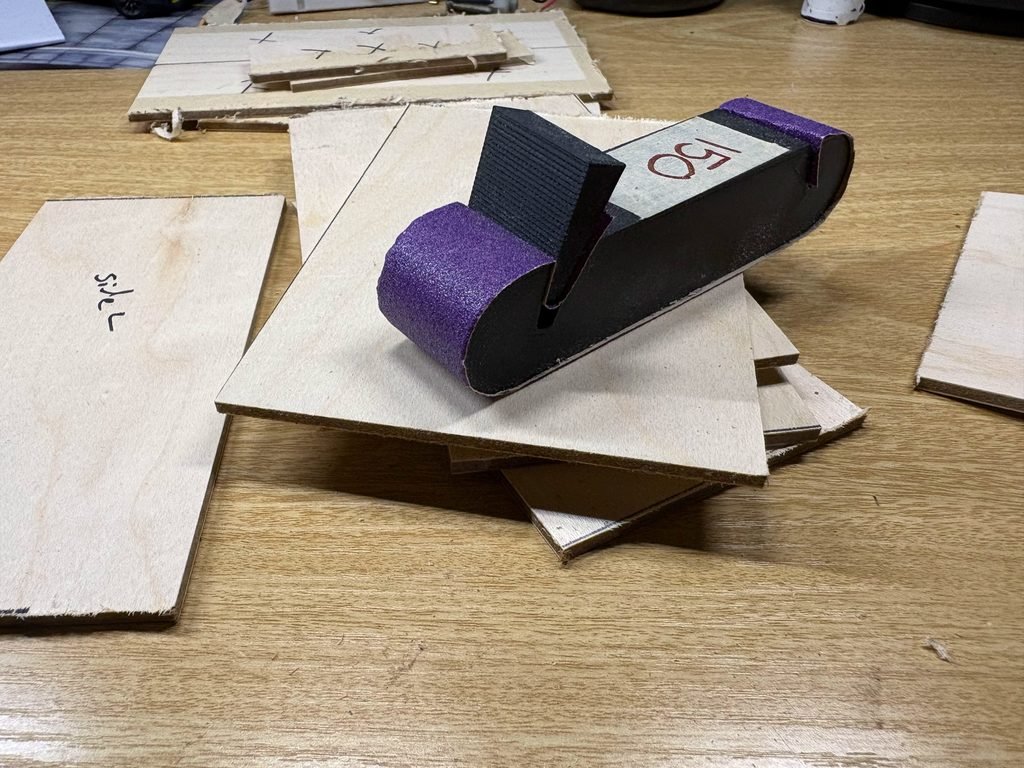
I cut everything I needed and now it was time to save. If you got a 3d printer I highly suggest printing out a sanding block, either this one or similar. After sanding out all of the edges and stacking them I soon realized that they were all different sizes. But, that was no issue I tend to design things bigger than I need anyway so I was kinda able to sand some of them even, except for the really wonky ones that I had to cut free hand.
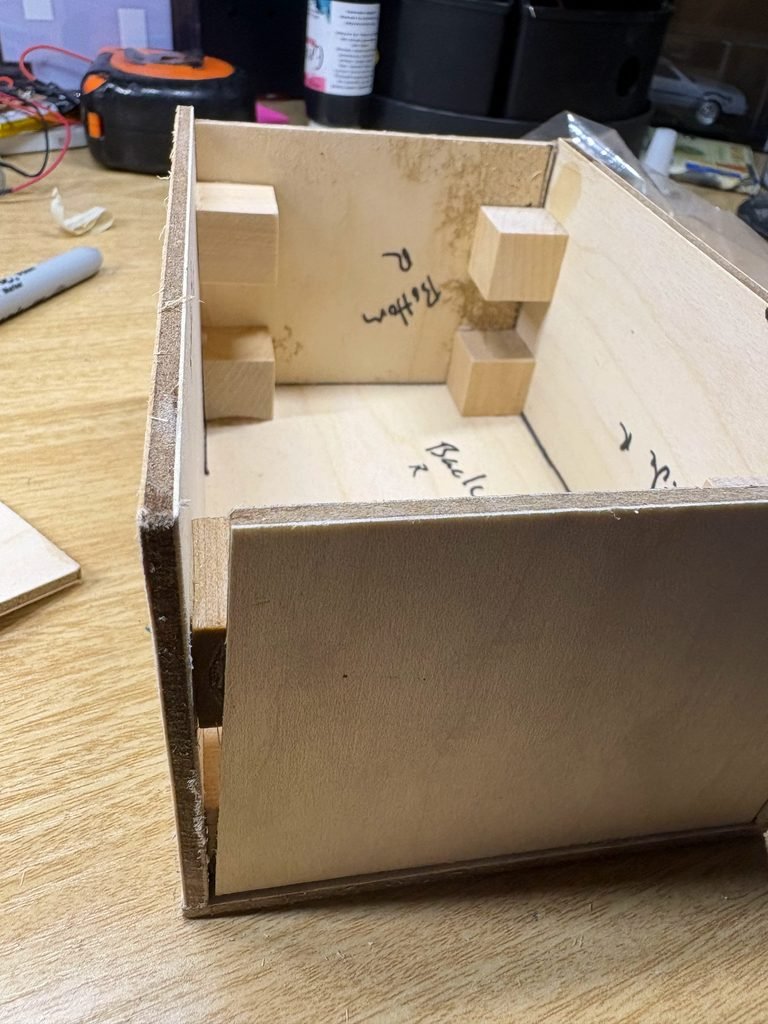
I secured the walls with wood cubes from the craft store. I did this on purpose so I can get a true 90 degree angle and really see how bad my cuts were. I mean you see it. Pretty bad right? Yeah, I know. But, this is where wood filler saves the day and I filled the crap out of those gaps.
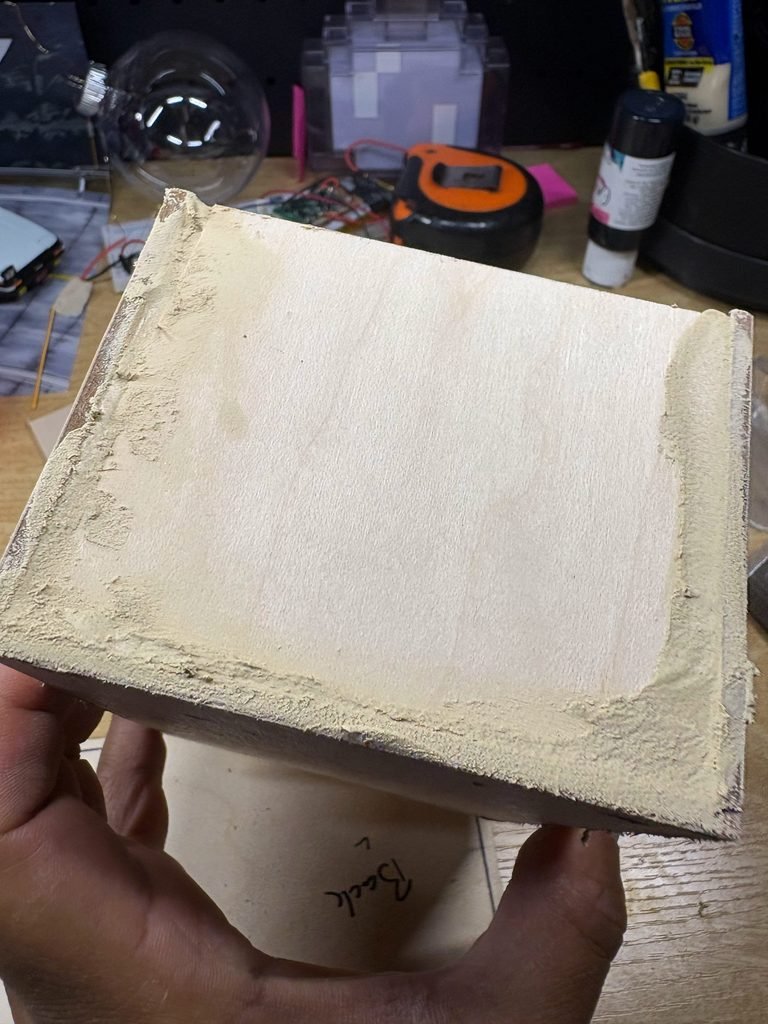
What gap?! After about 4 layers of wood filler I was able to sand this even enough because I was going to cover it up anyway with a 3d printed cover that will cover the top, bottom, and front.
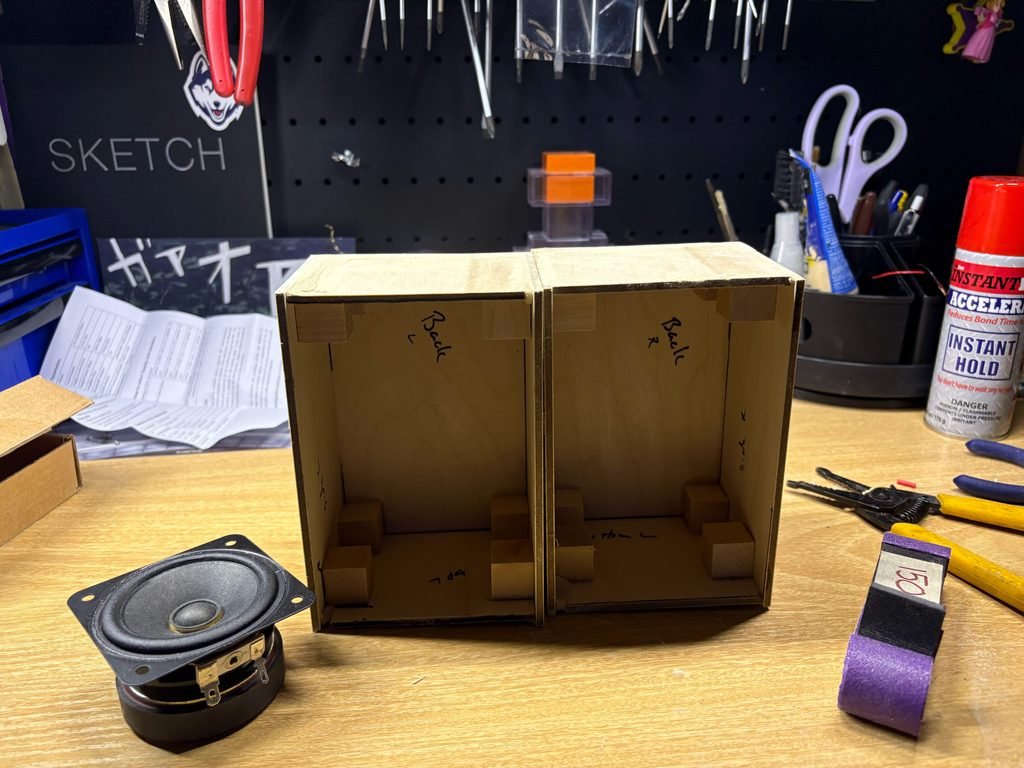
These are what the boxes look like after wood filler and sanding. I put the speaker there as a reference so you’ll know what I’m working with. I didn’t know it yet but I used too many cubes inside the speaker box. I could have gotten away with 4 each, toss makes the next step difficult.
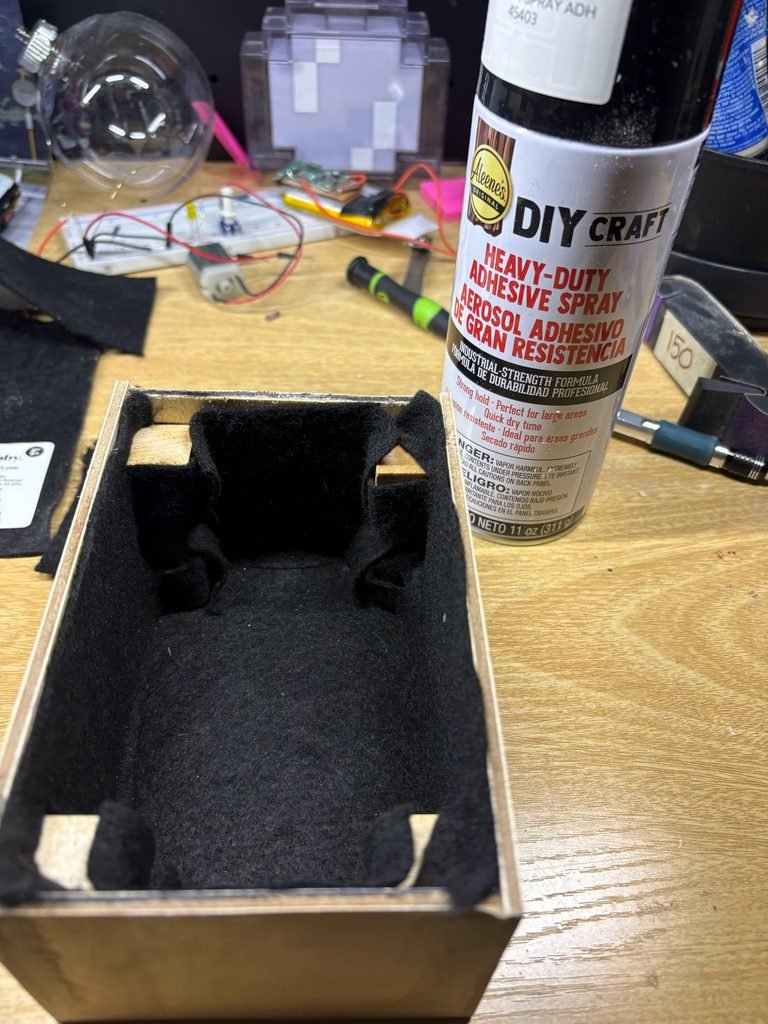
Adding felt sheets to the inside was difficult when you have 8 cubes you have to make cuts for. The purpose of the felt was to make the speaker box resonate less, I didn’t want sound to resonate out of the wood. I have no idea of this even works but hey, no one will see it anyway. I could have used my electric bills instead and you’ll never know.
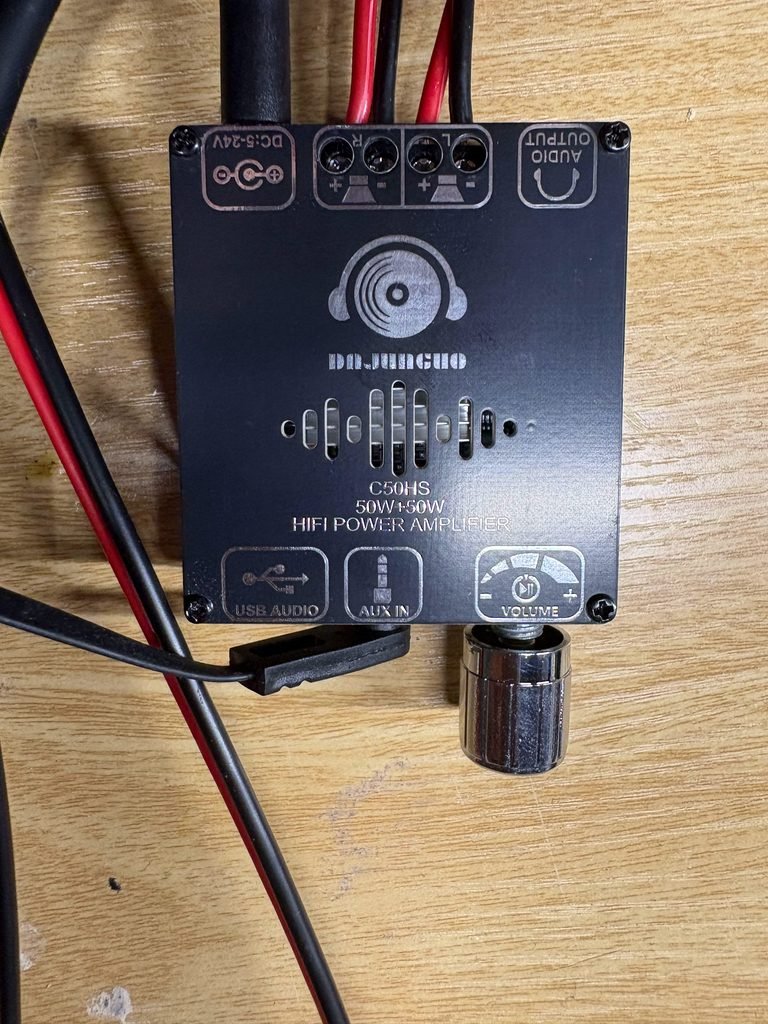
I got this C50HS Bluetooth Amplifier Board
off of Amazon for around $10 and this little board has Bluetooth, usb flash, and aux. the sound is not that great but the speakers from the Vizio sound bar should help. I’m going to leave this module as is, I’m not going to make an enclosure for it just in case it gets hot.
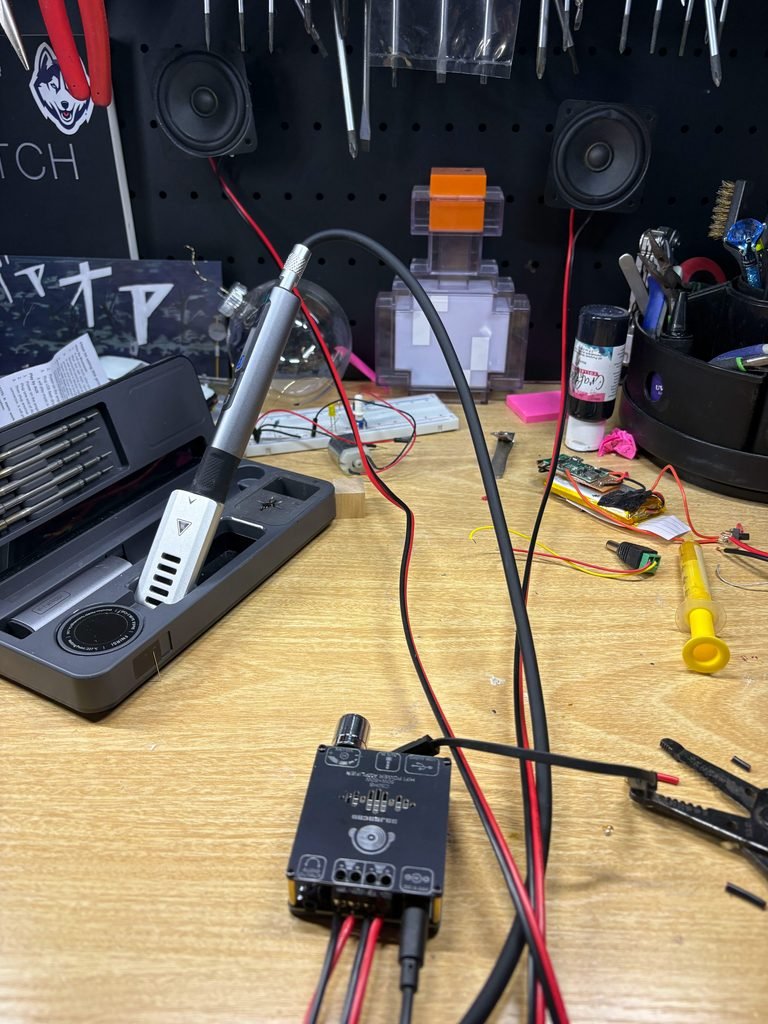
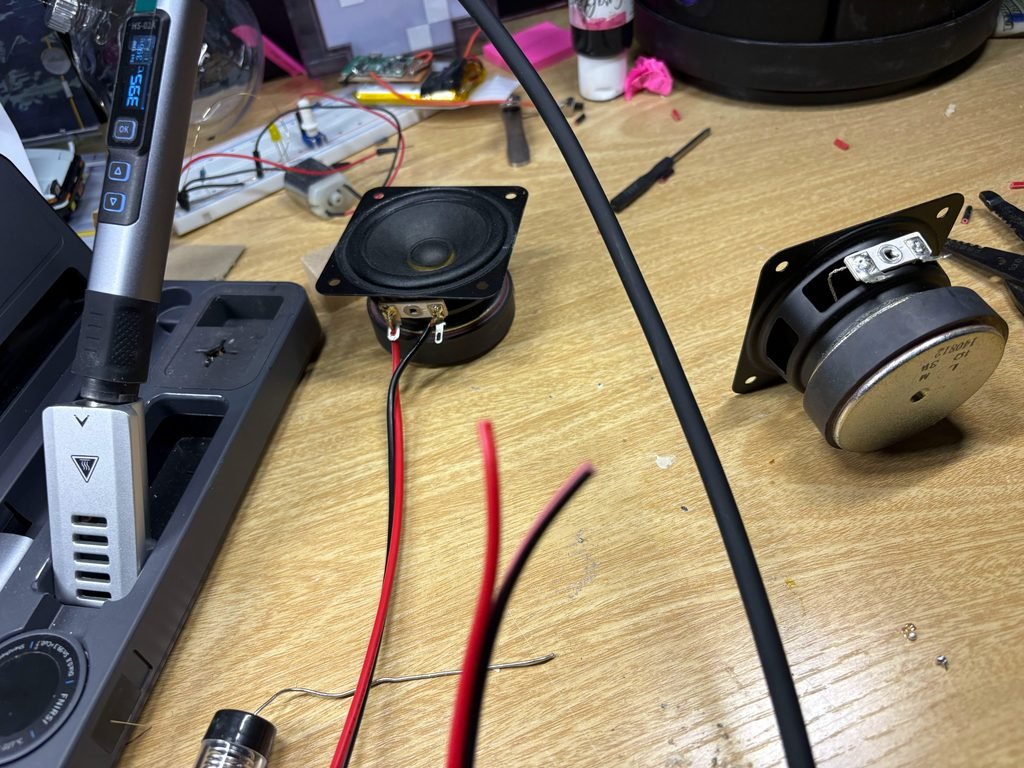
Wiring the speakers was simple, I used 18 gauge speaker wire soldered red to positive and black to negative. Then I tinned the other end and secured it to the board and making sure red to positive and so on. The Bluetooth is very bad on this board the sound would just cut out but I didn’t get this for that feature. I ordered this for the aux capability and that works perfect.
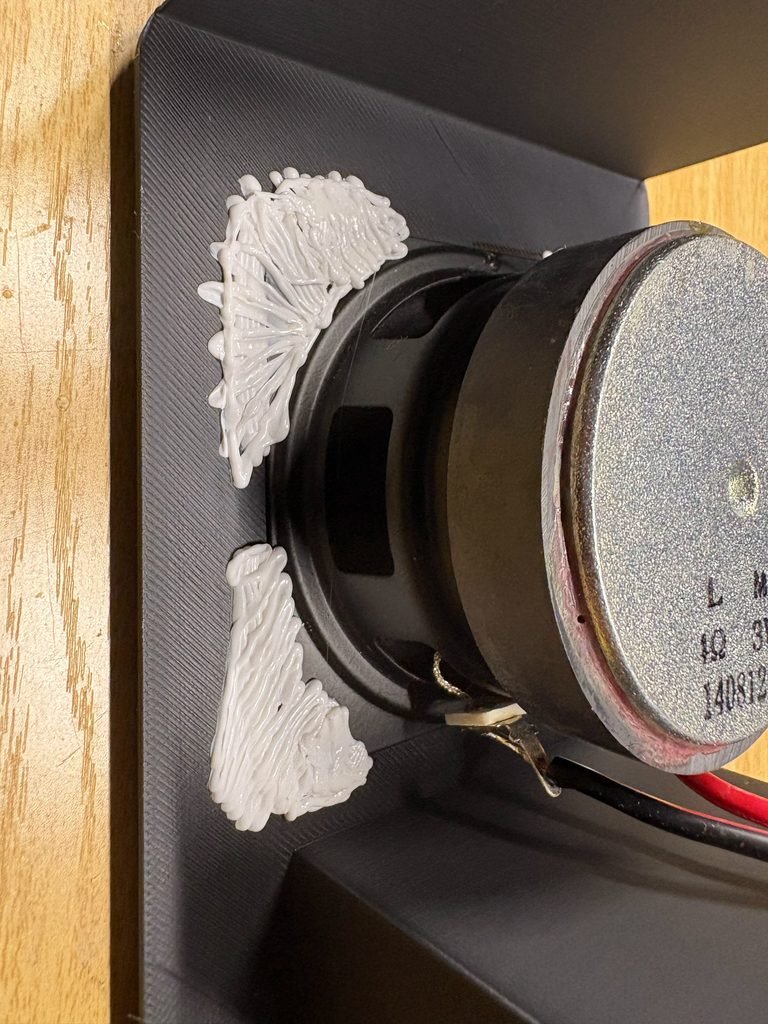
I could have secured the speaker with some screws but I wanted to use my 3D pen to permanently attach it to the face plate. If this was something I might need to fix in the future I would have screwed it on but speakers are fairly straight forward.
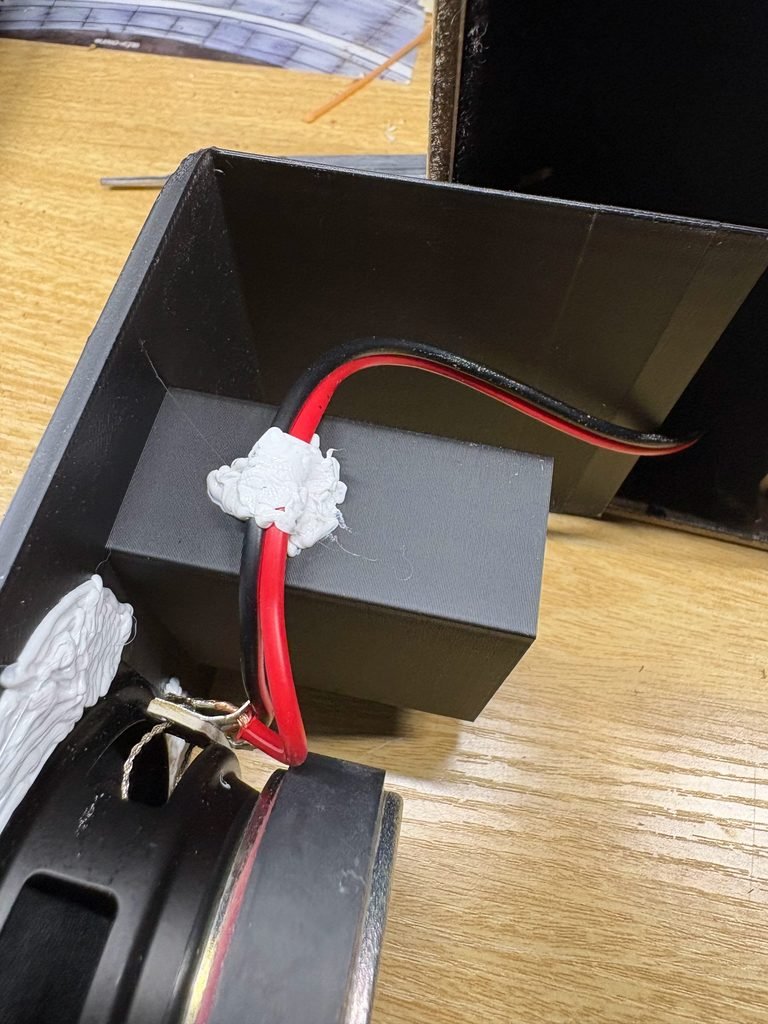
I love using the 3D pen, it’s great for wire management, and it bonds to itself well.
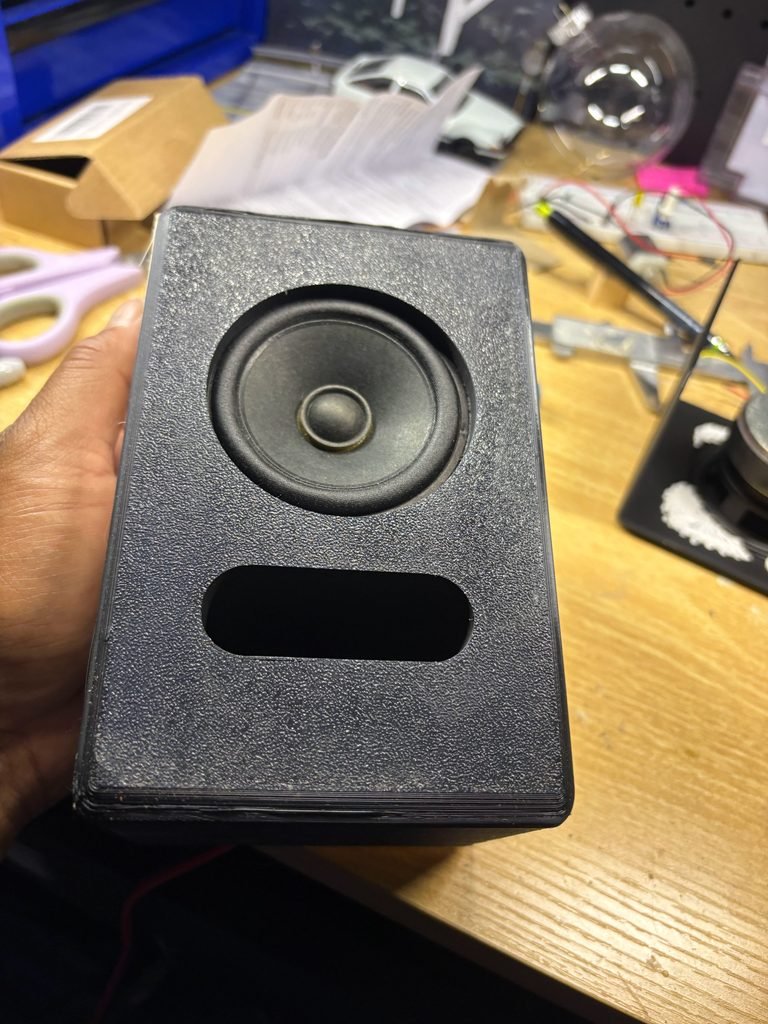
All that was left to do was to slide the faceplate over the speaker box and glue it all together.
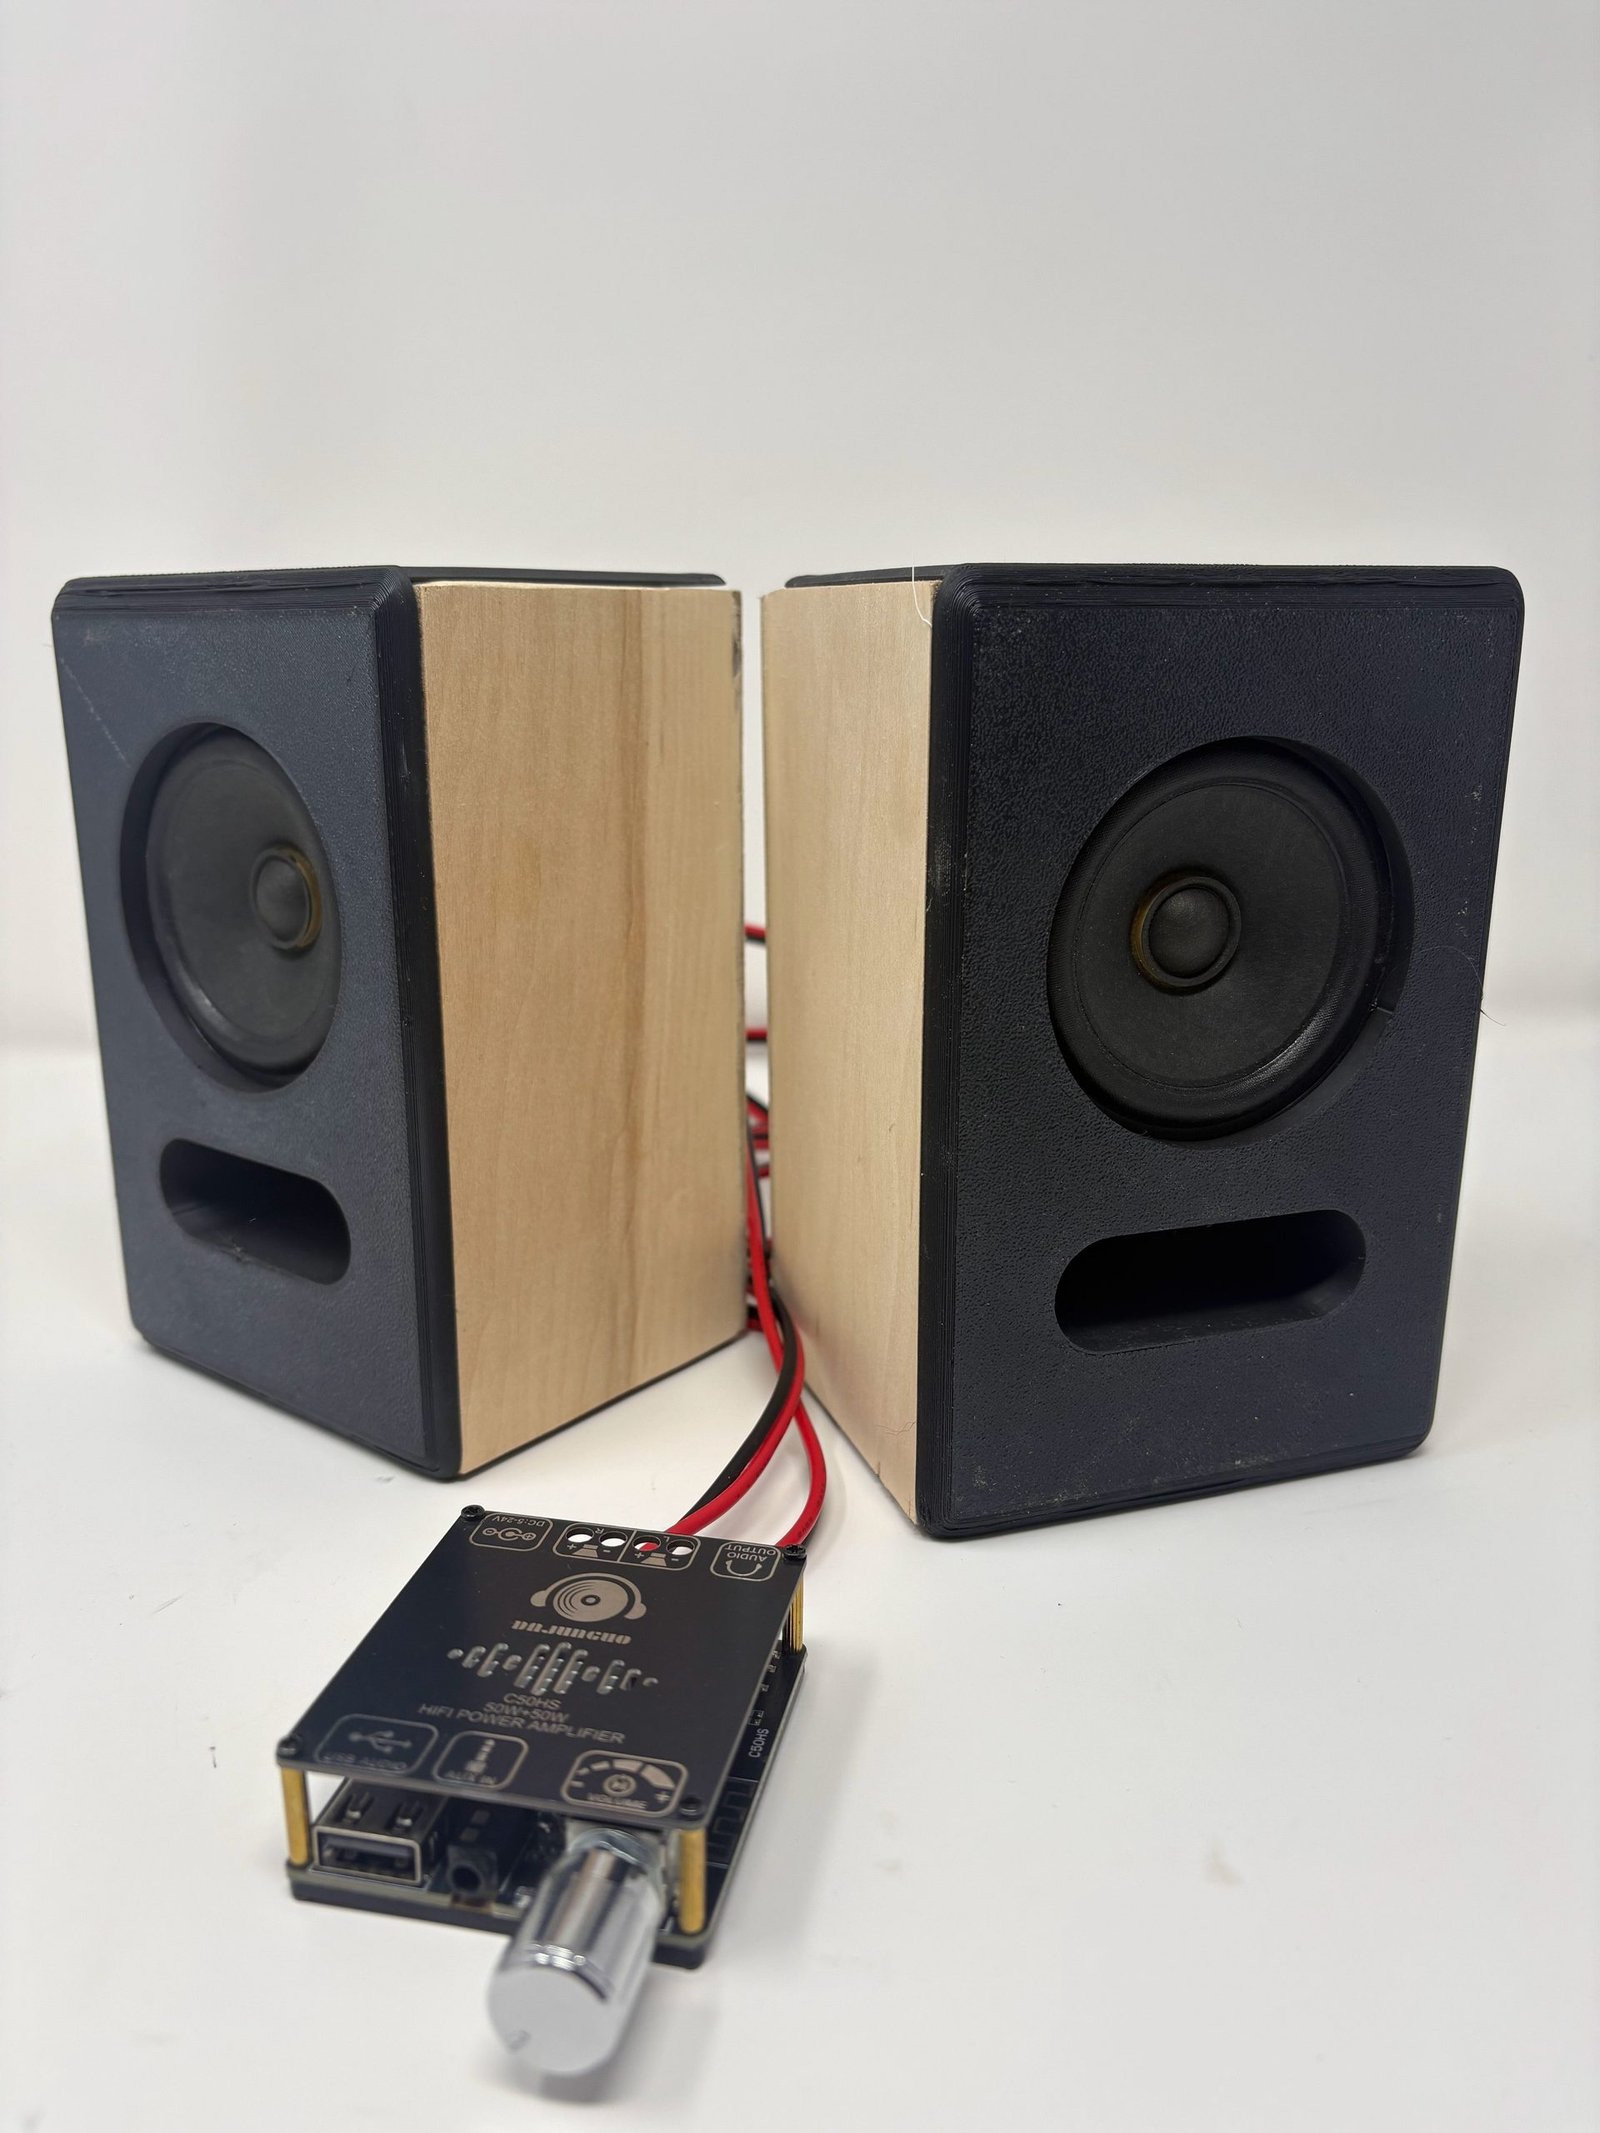
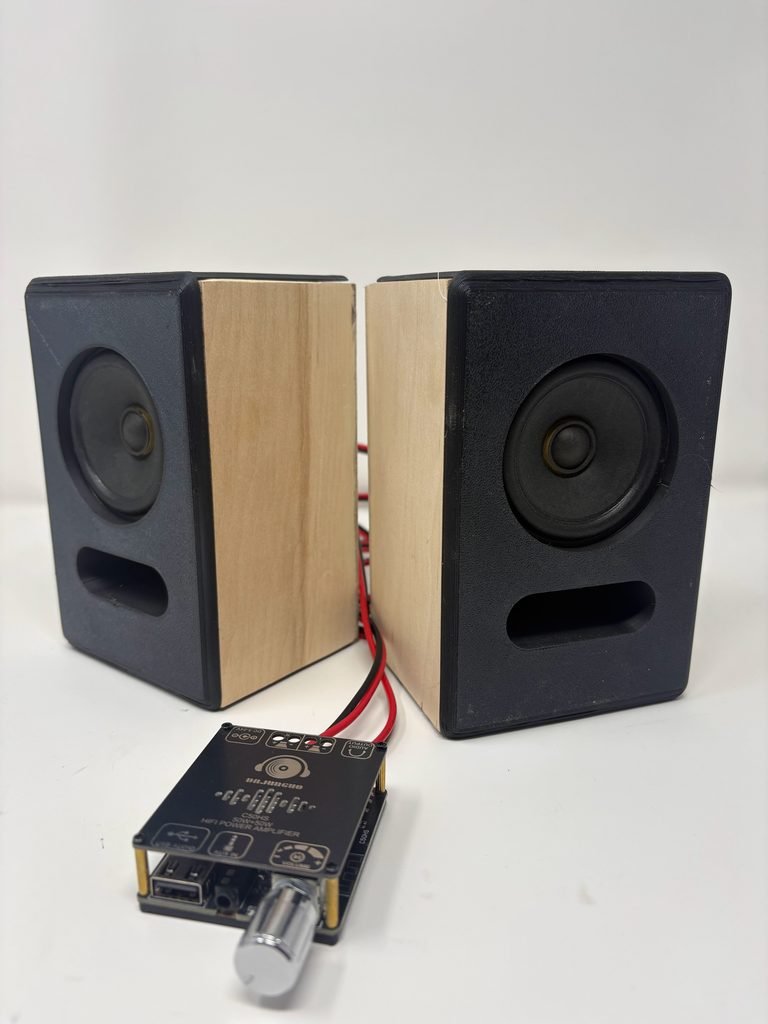
As of right now this is how it looks currently sitting on my night stand, no paint or fabric over the speaker and port. The Speak Module works great if plugged into the aux on your tv, the bluetooth has connectivity issues.
This post may contain affiliate links. If you buy through them, I earn a small commission at no extra cost to you, which helps fund parts and tools for future builds. Appreciate the support!