
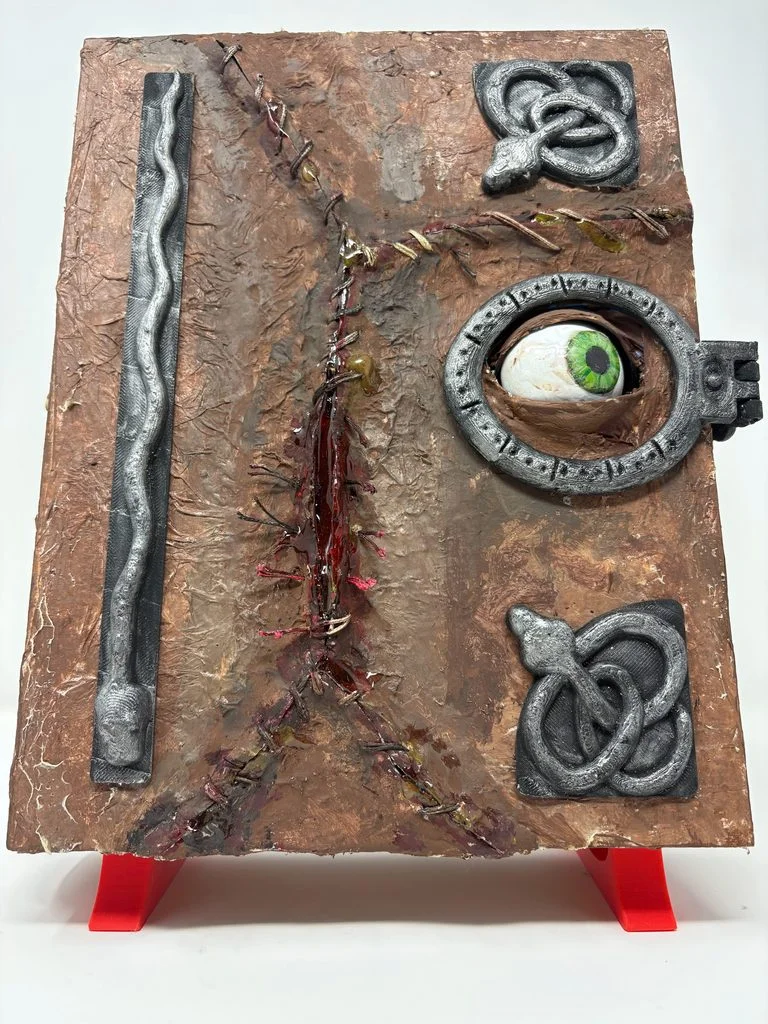

This all started because I found these wooden storage boxes that were made to look like a Halloween themed book at Target one day. I immediately thought of one of my favorite movies from my childhood “Hocus Pocus”. I ended up buying 2 of the larger ones and a singular medium sized book, you know, just incase.
Once I got home I ran through a mental checklists of materials that I have at the ready and things that I would need to buy and I have that list of materials right here.
- esp-32
- Breadboard
- UV resin
- 2x micro servos
- One ping pong ball
- 18 gauge metal wire
- Tools to cut wood (saw, Dremel etc..)
- 3d pen (to fix all my mistakes)
- 3d printer
- String
- Tissue paper
- Liquid latex
- Mod podge
- Paint (light brown, dark brown, black, white, green , and red)
- One latex glove
- Power bank
- Book stl
- Animatronic Eye STL
Before I even make my first cuts I needed to see if I can get the animatronic eye to move and blink the way I wanted to. I do have a background with coding HTML, css, and light JavaScript. So coding in C or C++ was going to be a bit foreign. Luckily I have an AI assistant Google Gemini. It coded everything with just a few prompts and being that I can understand coding semantics I was able to adjust parameters as needed.
This was my first set of hundreds of tests that I do just to check if it works and still works. Here I cut a ping pong ball in half and mounted a steel rod directly to the servo motor. After getting the code correct with the Esp32 I was able to get the eye to move side to side with a randomized distance and time. The only thing I did not like nor had the patience to do was to figure out how to make the eye glide smoothly. There’s no point in chasing perfection so I moved on.
Here I attached the 2 servos perpendicular to each other with some 3d printed plates. I 3d printed the eye lids that I found on thingiverse.com. I used metal wire to mount everything in place temporarily. The metal wire was a great choice because I was able to give it micro adjustments by bending the wire where it was needed before using the 3d pen to lock it all in place. For the metal wire I used CA glue to hold it in place instantly. The shaft that holds the eye ball is held in place by friction and I decided not to glue it just so I can adjust the eyeball when needed.
I didn’t need to paint the eyeball because it was already painted, but, I wanted to make it look realistic and moist. I started with dark green lines and gradually went to a lighter green to give it depth. Then I did a dome of UV resin over the pupil and iris and one small coat over the rest. The original ping pong ball was purchased at my local Dollar Tree by the way, and for some reason Michaels did not have any ping pong ball’s that I could find.
As you can see here I had to trash 2 servos. I had mentions early that I had friction fit the eye to the servo. That wasn’t by design, it’s because I glued the servos by accident and it had a hard time moving, so I had to start over. On the new servos I used the 3D pen to lock everything in place. I was pretty confident that this step was completed as best as I could. So that’s when I started hacking away at the front of the book with a saw. I measured once and cut multiple times as per my training through out the years. I unfortunately forgot to film this because I am not used to filling while building.
I used the pen again to hold everything in place. I angled the whole unit so the eyeball can protrude out a bit more. I went a little too crazy with the 3D pen though. If you notice the gap above the upper eyelid has been covered with filament. This was supposed to be left open to make room for the eyelid and you’ll see that in action later. To get the filament flush with the rest of the book i took parchment paper and laid it across the filament and used a clothes iron to even everything out a little.
I put on the eyelid using a latex gloves with some super glue. I chose to do it this way because I wanted the eyelid to have some flexibility and natural movement. But what I didn’t expect was the eyelid to get bunched up from the… you guessed it, The overzealous monkey with a 3D pen who decided to cover up the gap between the eyelid and the wooden book cover. So needless to say at this junction I was pretty much rage building. I used a soldering iron to melt some pieces out while also using some needle nose pliers to pull some plastic out as it was still pretty warm and soft.
Now it is time to go crazy with some tissue paper and mod podge. All I had were these festive confetti tissue paper but that doesn’t matter cause I’m going to paint over it any way. A little advice on application, I put a light layer of mod podge first so the tissue paper stays. As you apply mod podge on top of the tissue paper it naturally creates these wrinkles. I aimed to create jagged and random wrinkles make sure there are no straight edges. I found that one or two sheets of tissue was more than enough to get the effect I wanted. It was also at this point that I realized I didn’t give the eyelid enough slack, so now I don’t get full closure when it blinks. I’ve decided to just leave it alone.
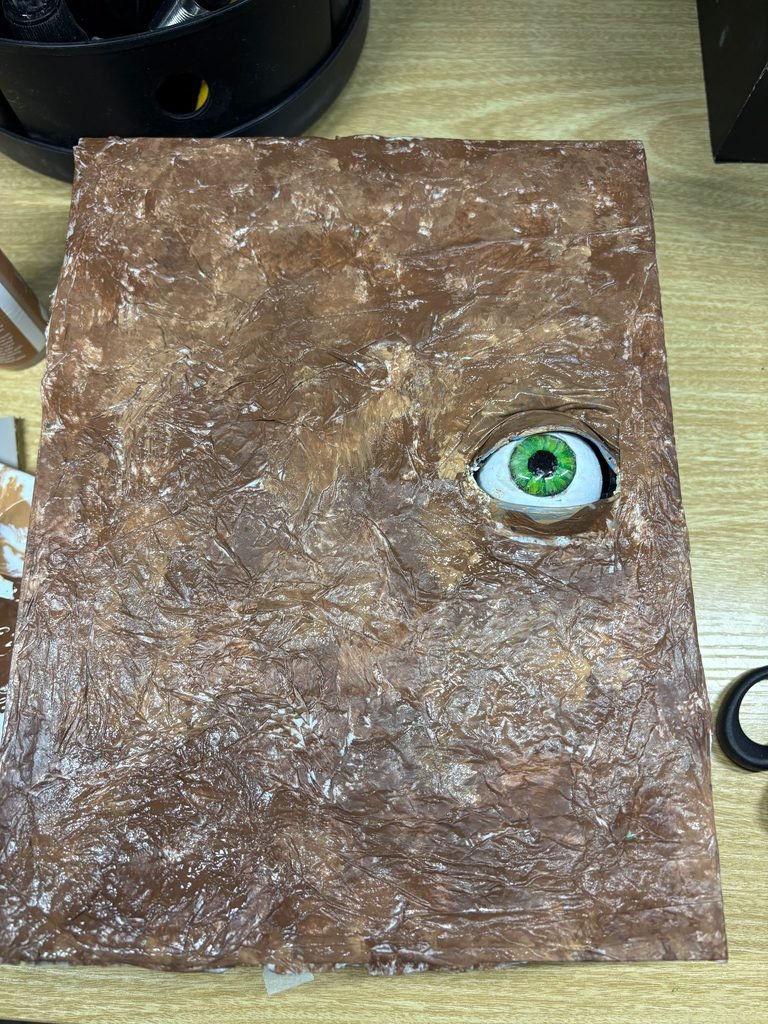
After everything dries and hardens it’s time to paint. I started off dark brown everywhere then went over random spots with light brown to give some depth and a weathered look. I found that using a chisel tipped brush and dabbing the paint on rather than brushing helps get the paint under the wrinkles and other hard to reach places. As you can imagine at this point in the build I was actually getting excited about finishing it.
I gotta be honest this is my first build of tied kind. I usually do functional builds over any functional prop fan builds. I am very pleased with myself and it goes to show that all of those hours of watching videos of other makers and absorbing all of that info helped with this and possibly future builds.
I printed this rounded end to go on the binding of the book. The flat binding looked funny especially when I added these fingers. I did the same tissue and mod podge process but excluded the fingers. After watching all of these videos I took I realized that I should have painted the whole book first. I put some wood filler on the fingers just to get rid of some of the layer lines. Sanding and painting the fingers will also help get rid of layer lines also.
For a better view of the binding, I painted the fingers a flesh color and a lighter flesh color for the nail bed then added a drop of UV resin on the nail bed brushed evenly to give it finger nails.

I was super excited to find files of these snake accents on thingiverse, I did not want to design these myself because I’m not that good with CAD. Now to wood fill, sand, and paint these bad boys and see how they come out.
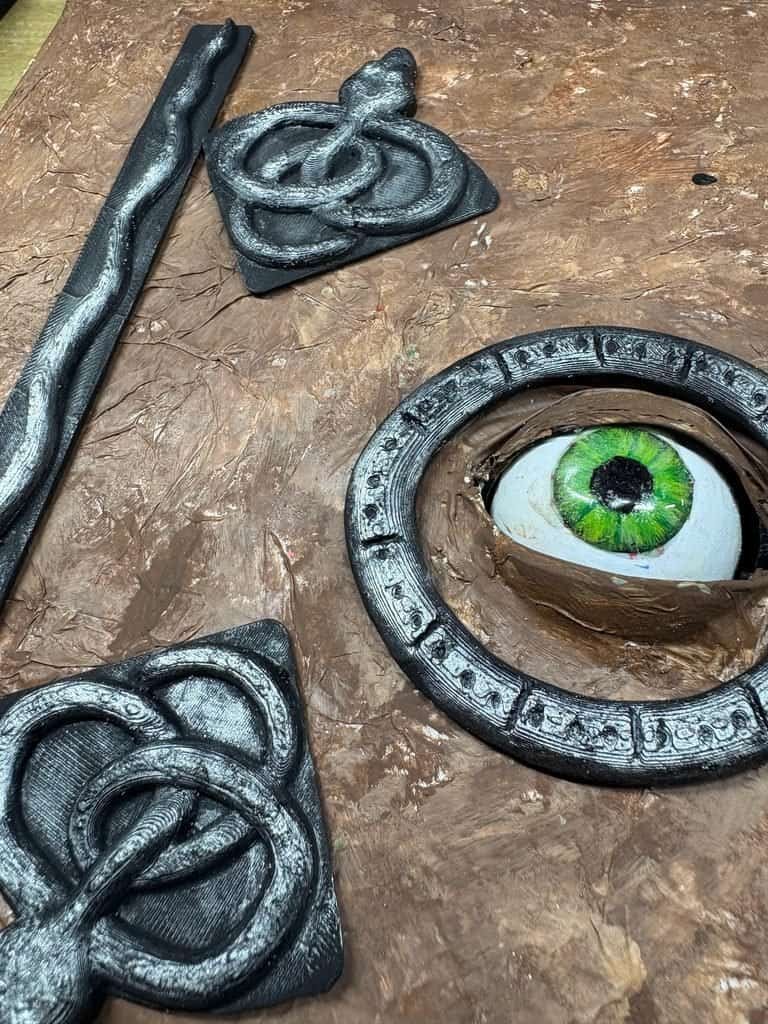
It didn’t come out too bad. Although you can still see the layer lines but what ever. The latch that goes over the eye has a claw piece that goes on the back of the book that I’m skipping all together. I just wanted to display the front only.

I did a little bit of extra credit on the page edge of the book, I added a silhouette of the Anderson sisters. Unfortunately the placement of the sisters will be blocked from view by the eye latch. Yeah I’m horrible at planning, we’ll just call that another “oh well” moment.
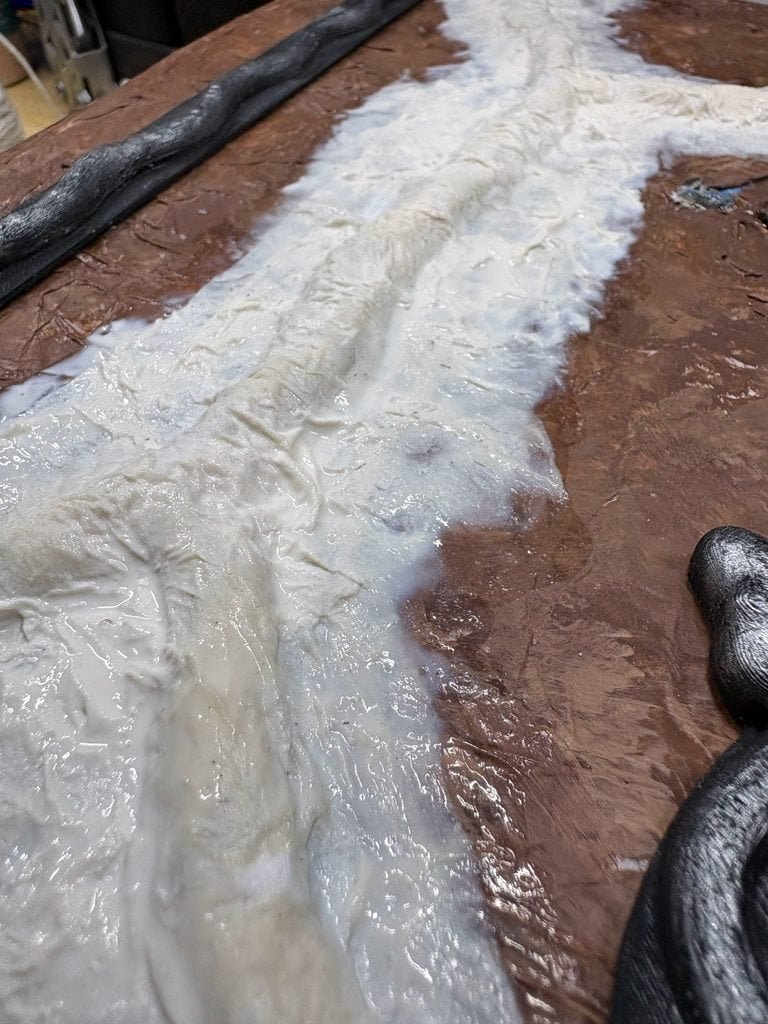

I forgot to press record again. Here I’m rolling up tissue paper very loosely and saturating it with liquid latex . After I lay down the tissue roll I add one to two layers of tissue paper flat. This gives the contour needed to make the stitches look real-ish. Please give the latex around 3 hours or more to dry, I didn’t and started painting over wet latex.
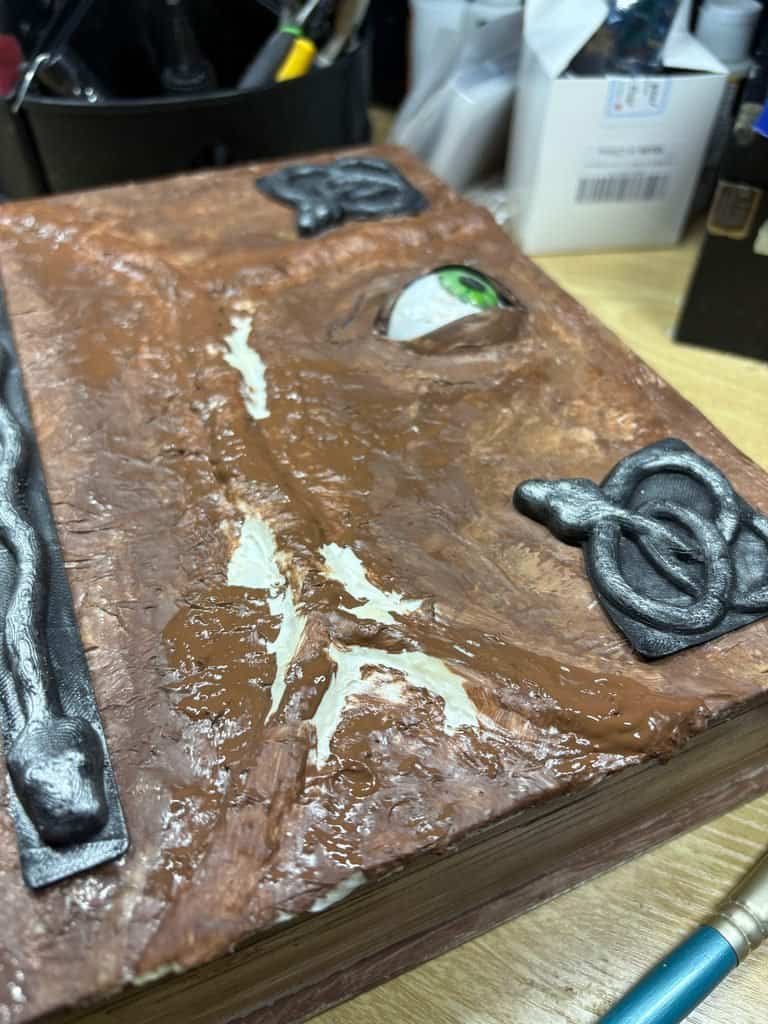

Yeah wait for it to dry please.

I also added a layer of tissue paper and latex to the binding fingers. Later in the build I want to slice a few of the fingers free and add blood just to make it seem like they’re breaking through skin.

Kinda like this. But I’ll have to add the blood later when everything on the cover is hardened and dried.

For this step make sure you have a very sharp hobby knife. Cutting through latex saturated tissue paper turned out to be very tough. So multiple passes with the hobby knife will get the job done. The center stitch where it looks all black inside, I used stone metal wire to prop that open. That’ll make it look like the stitches busted open.

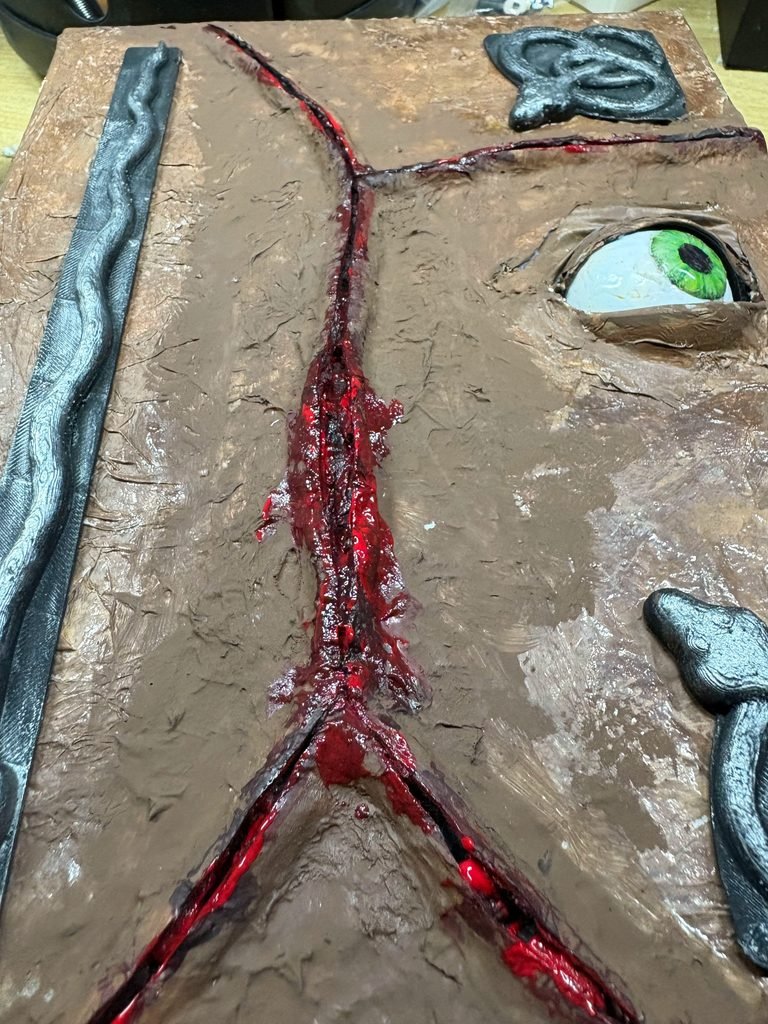
Before I laid down red paint I went with black first, it just gave it that extra bit of nasty I was looking for.

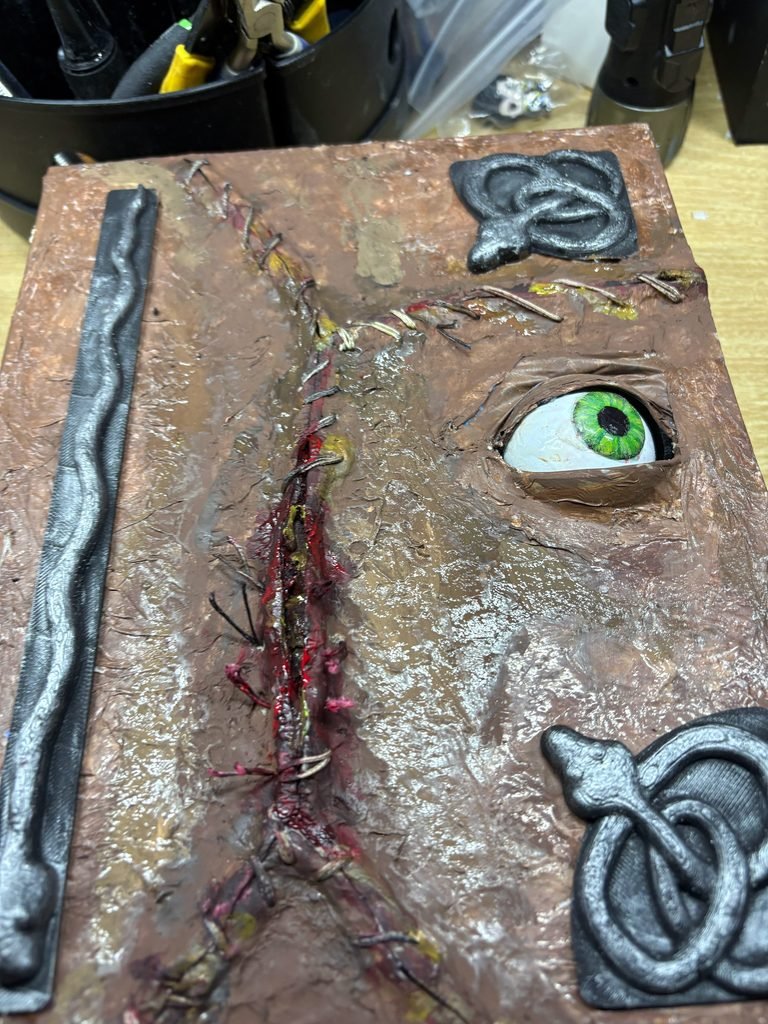
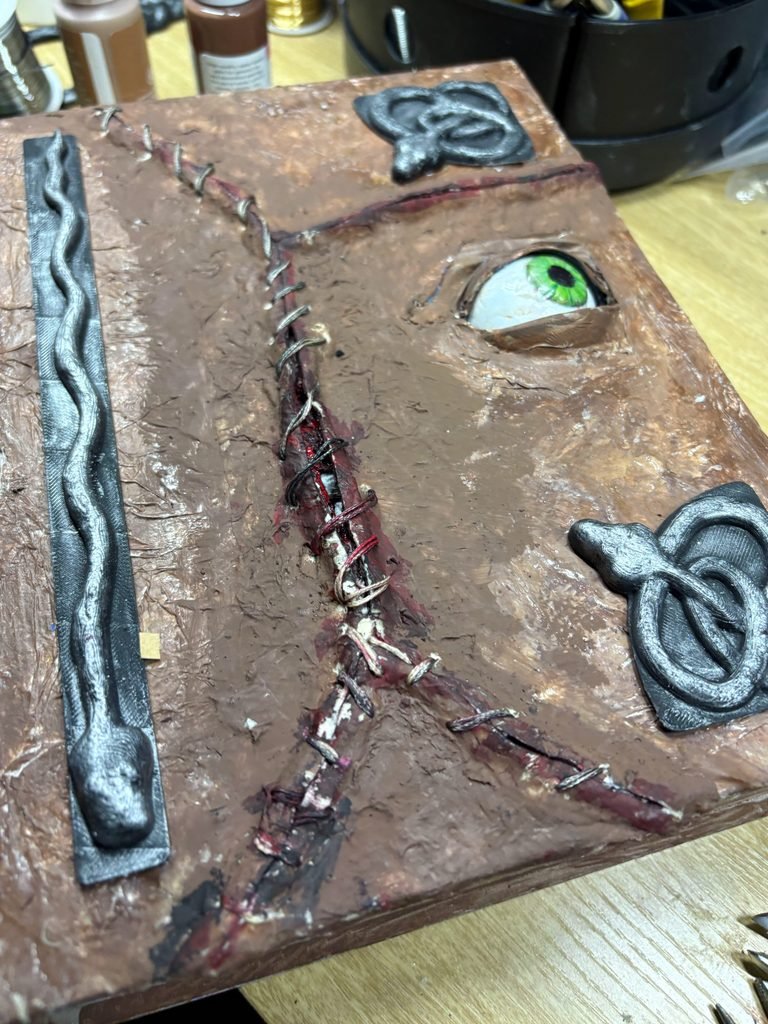
This is Book around 90% done just gotta paint areas where the original color shows. I need to sand down the inside wall so the servo arm moves freely. I also need to finish the latch. One optional thing I might do is add a motion sensor.

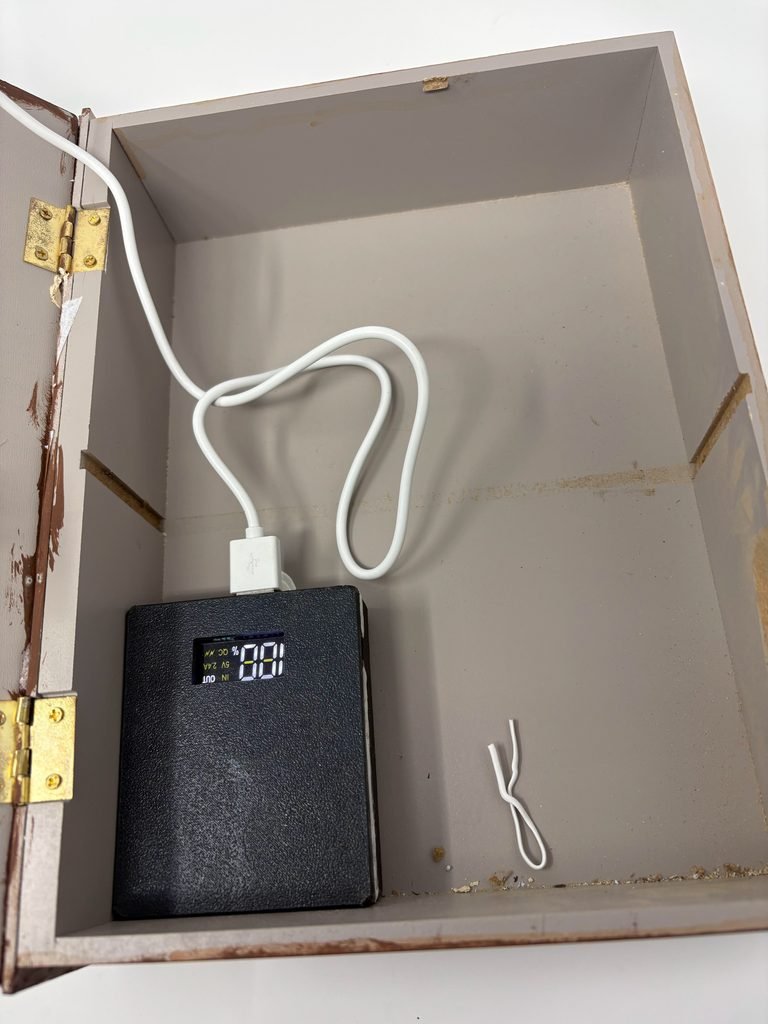
I chose to not solder because this is a seasonal piece of decor and it’ll only be on display for a couple of months. So when not in use I’ll be using the Esp32 for other projects and that reason is also why I opted for a power bank instead of a dedicated battery.
This post may contain affiliate links. If you buy through them, I earn a small commission at no extra cost to you, which helps fund parts and tools for future builds. Appreciate the support!